©Threater 2024
Explore Our Solutions
Aggregate and manage all threat intelligence in the cloud in addition to millions of open source IOC’s including a proprietary Cloud Attackers dataset.
Aggregate cyber intelligence data – in real time, at scale – and automatically eliminate known threat actors from entering and exiting your network
Easily acquire and deploy the world’s best third party cyber intelligence and threat related services.
Block Known Threats
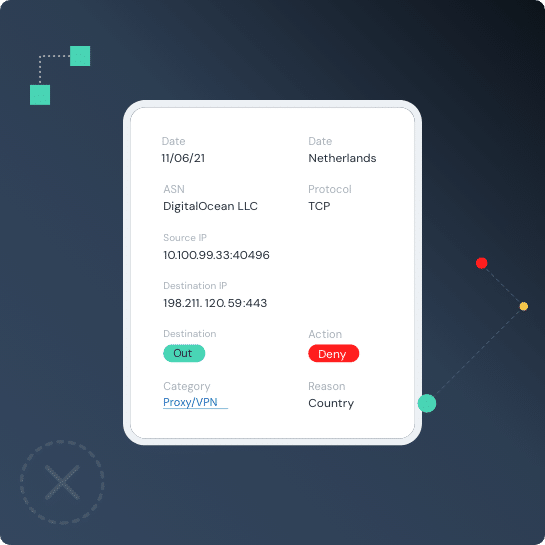
Threater Enforce deploys and enforces data — in real time — at scale — across your entire network and blocks all known bad threat actors from ever entering your network. With full threat source attribution on every connection in your network, you are not only blocking all of the known bad threat actors at scale — but you’re arming your team with powerful insights about what is happening in your network — all in real time.
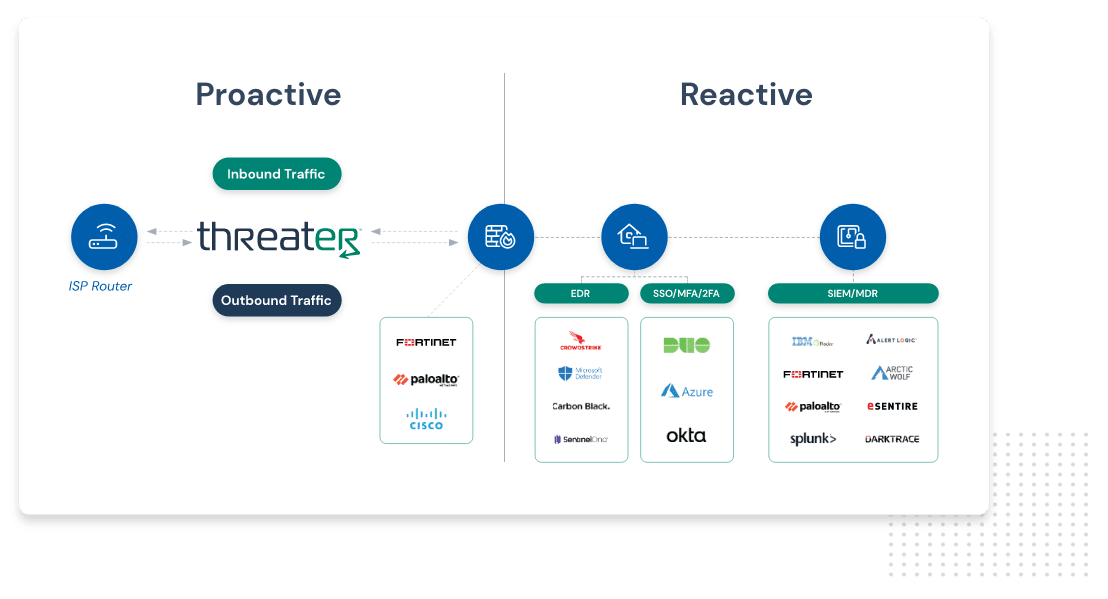
Blocking Known Threats enables the rest of your solutions to do their job more efficiently.
Your security stack is better with Threater.
Recognized by Users with Twenty-One G2 Awards for 2023
Threats Blocked Yesterday
Yesterday:
N/A
N/A
Threats Blocked Last 7 Days
04.21.2024 1.3 B
04.20.2024 1.2 B
04.19.2024 1.5 B
04.18.2024 1.6 B
04.17.2024 1.5 B
04.16.2024 1.5 B
04.15.2024 1.5 B
How Enforce Works
Threater blocks what your security stack cannot
Threater is a solution for managing and understanding all threats that blocks both inbound and outbound threats on your network. This service works with your existing security stack by blocking threat actors before they can even access your network.
Want proof we can make you more secure?
We’ll show you what Threater would have blocked above and beyond what your firewall did.
Click here to submit your security logs for rapid analysis.


